Chrome → Print → Save as PDF (enable Background graphics).
Setup VaultDevice Setup Master Guide
Fire Stick, Android TV, Samsung, LG, Roku & Apple TV — complete first-time setup
Edition 2026 · [email protected]
Device Setup Master Guide
Contents
- Before you start
- Amazon Fire TV & Fire Stick
- Google TV & Android TV
- Samsung Smart TV
- LG webOS
- Roku & Apple TV
- Phones, tablets & casting
- Display & accessibility
- Post-setup checklist
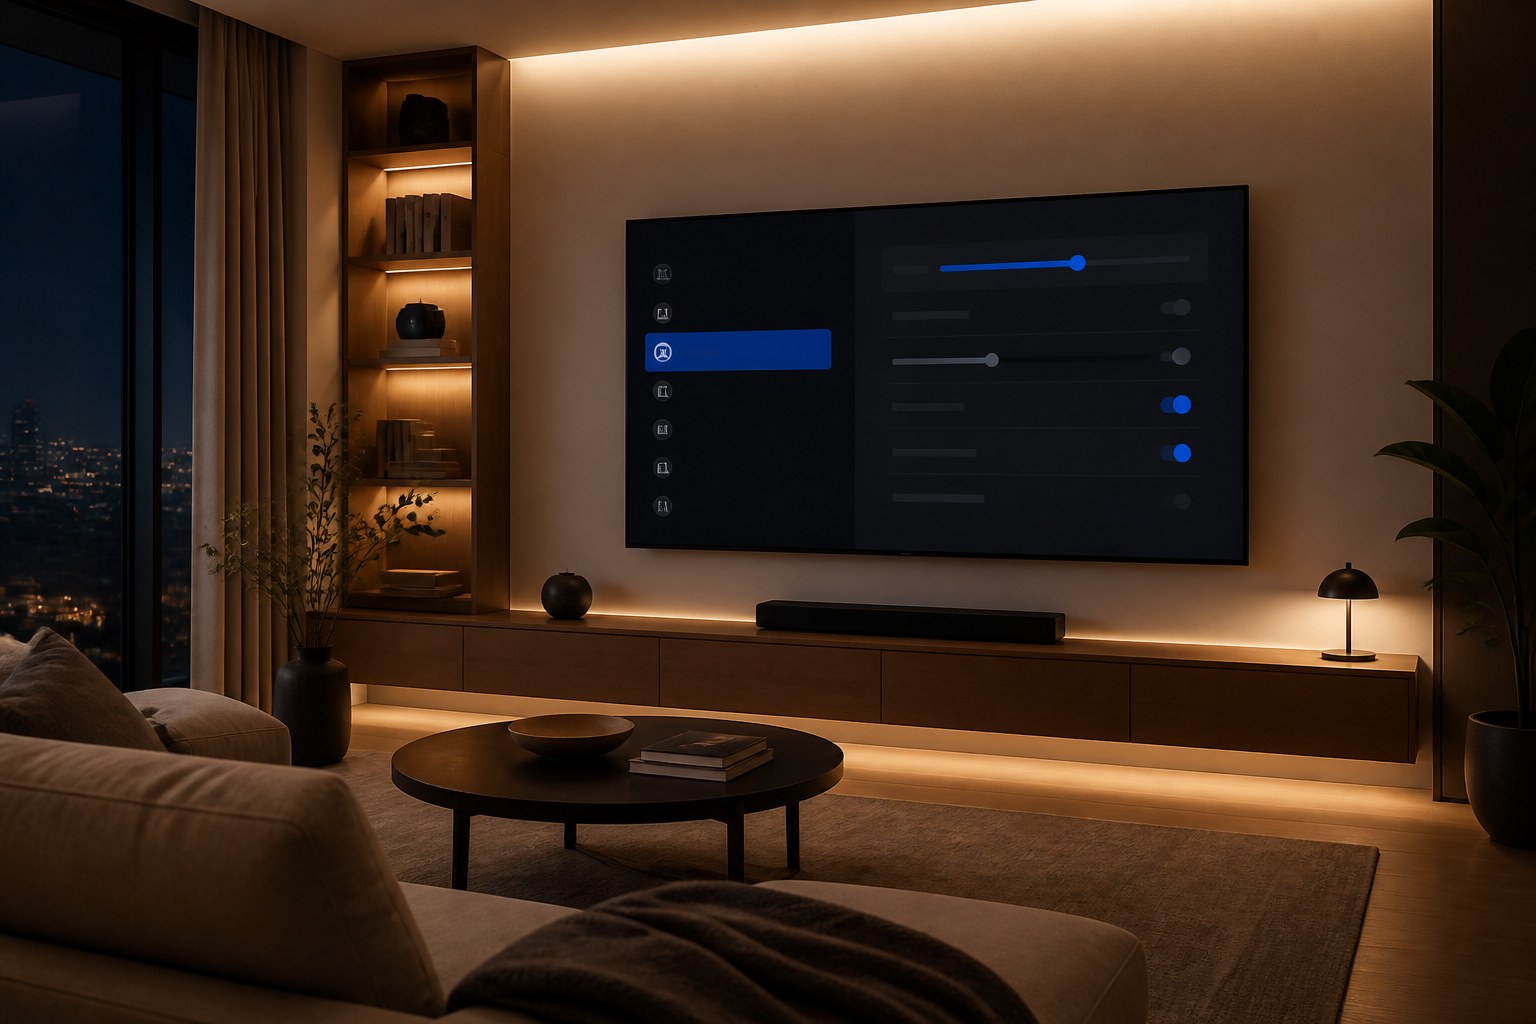 A properly configured living room setup — TV, soundbar, and streaming device
1. Before you start
Goal: Stable device on reliable network, updated firmware, clean app environment — before installing any media player.
 Keep fresh batteries in your remote before starting setup
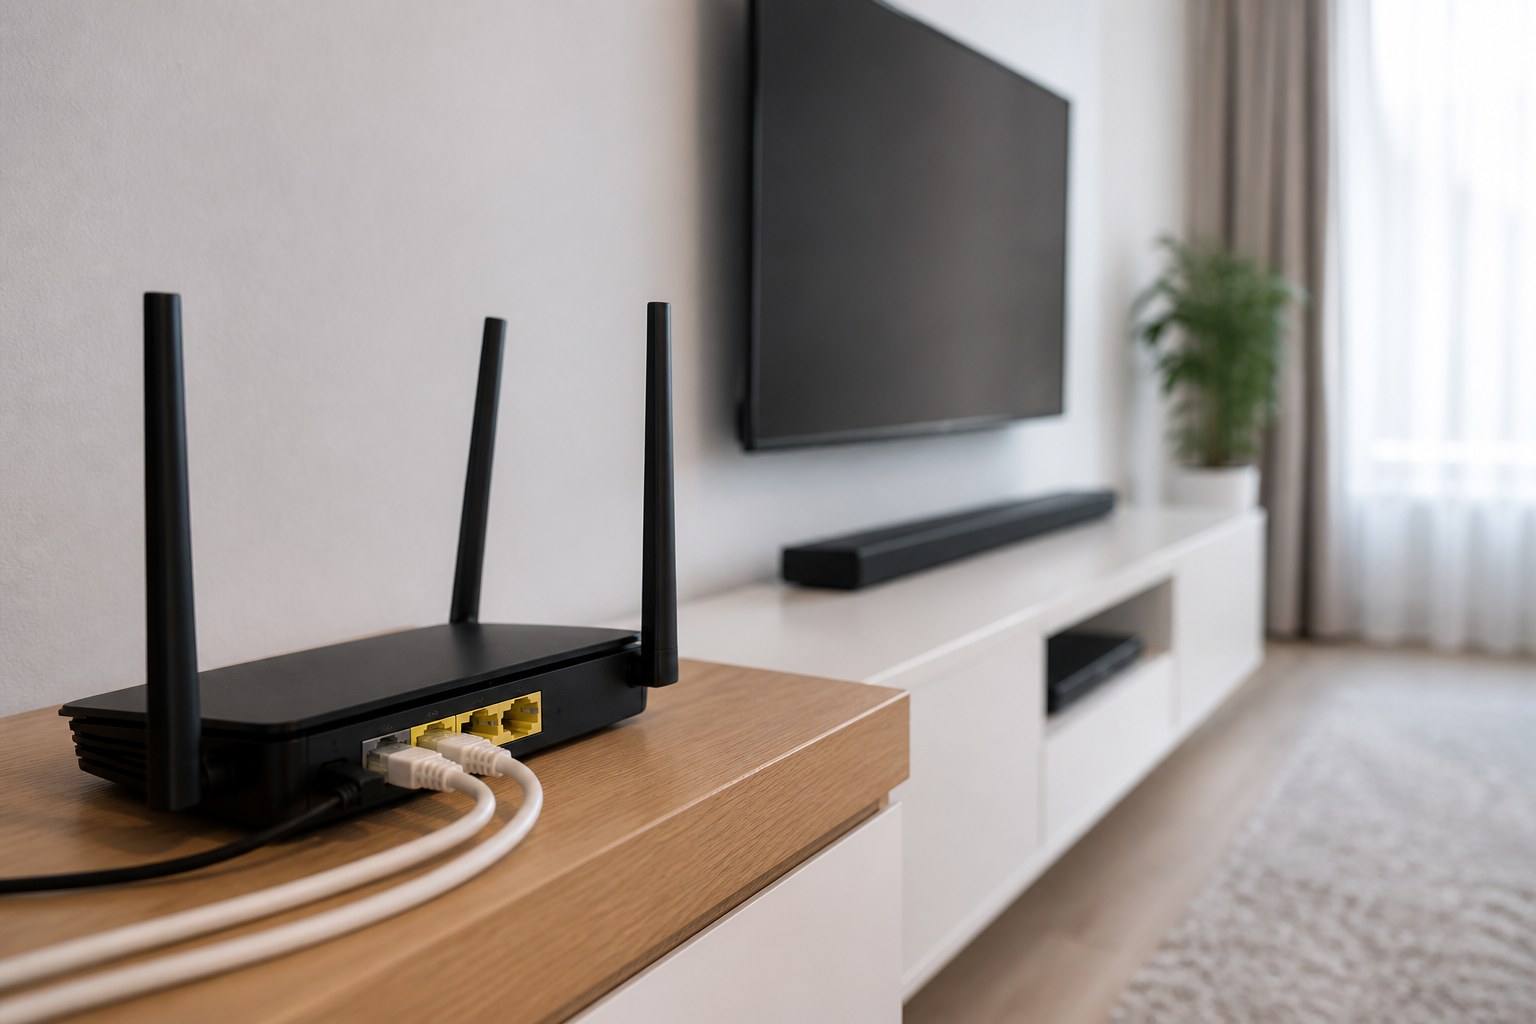 Position your router for strong 5 GHz signal to the TV area
| Item | Recommendation |
|---|
| Network | 5 GHz Wi‑Fi for streaming; Ethernet adapter for Fire Stick 4K Max when possible |
| Account | Dedicated email for device logins (easier recovery) |
| Storage | Leave 500 MB+ free on boxes with limited storage |
| Remote | Fresh batteries; pair before running updates |
| HDMI | Use HDMI 2.0+ port on TV; extender if port is tight |
2. Amazon Fire TV & Fire Stick
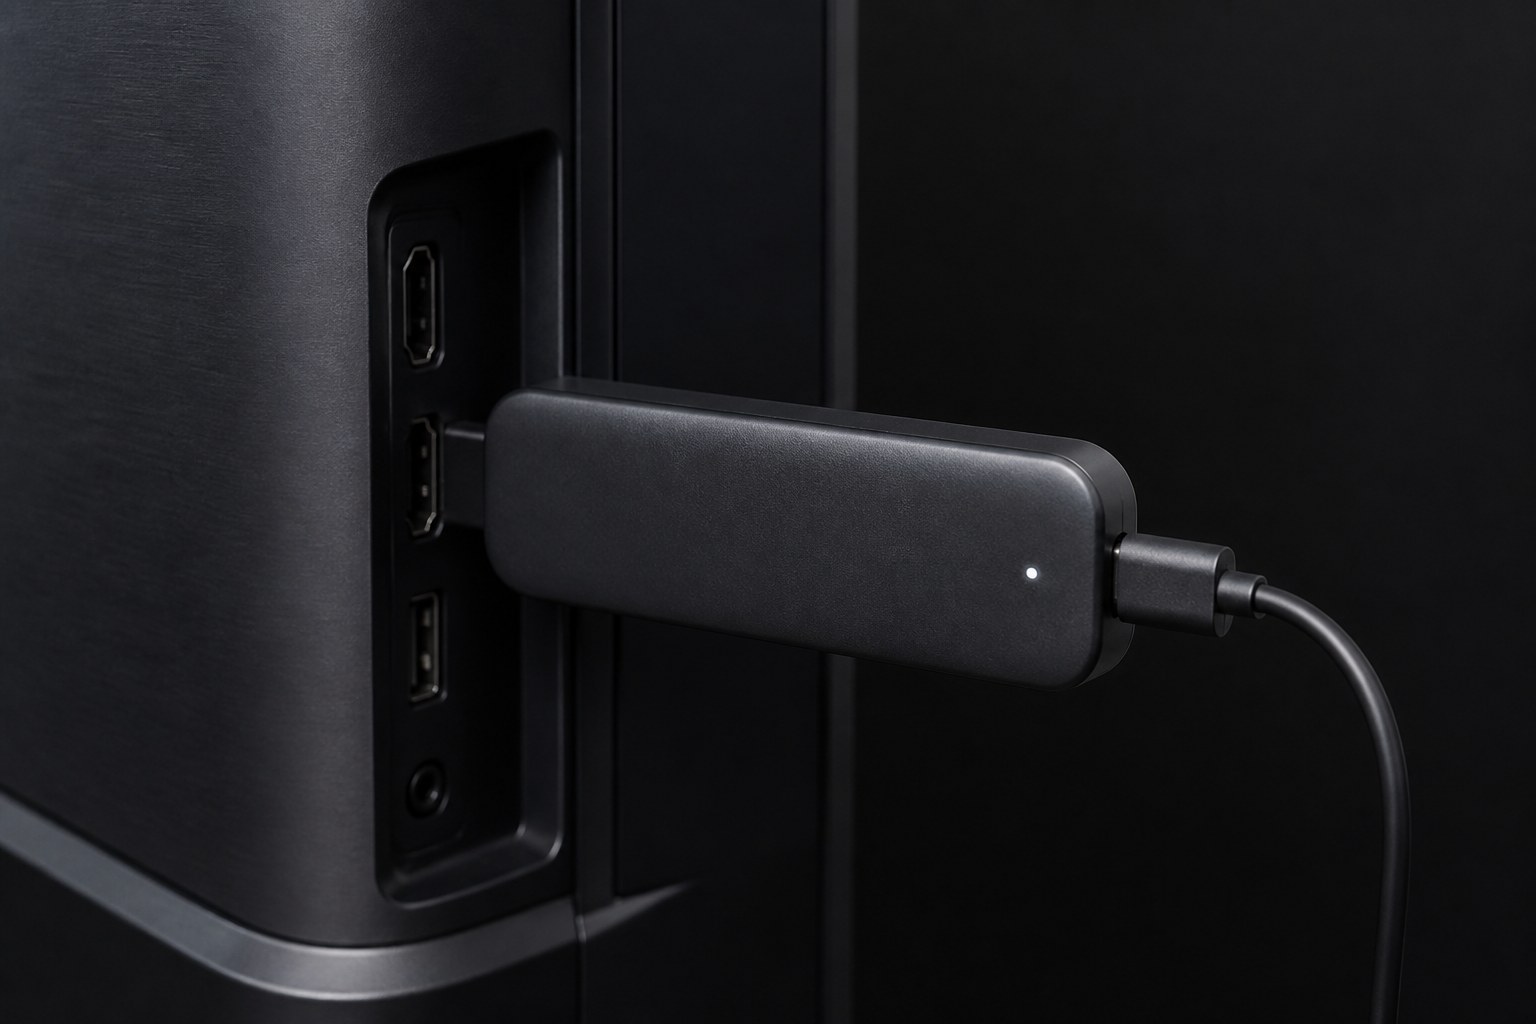 Fire TV Stick connected via HDMI — use wall power, not TV USB
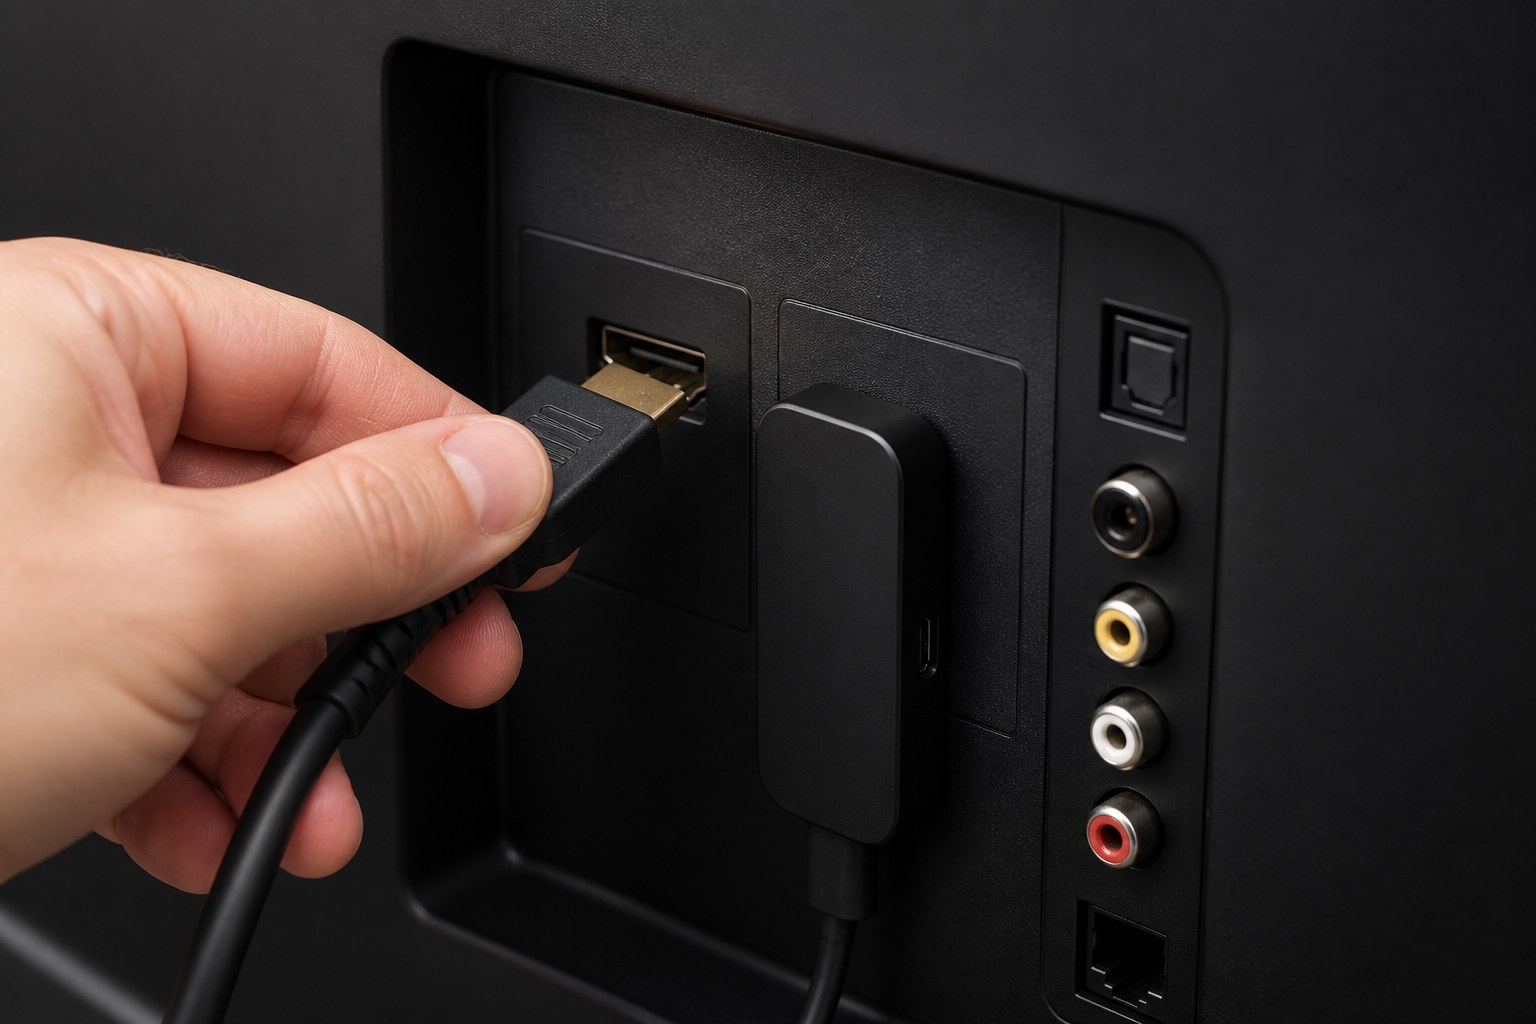 Connect HDMI firmly and use wall power for streaming sticks
First boot walkthrough
- Connect HDMI; use the HDMI extender if the TV port is tight or causes heat buildup.
- Select the correct HDMI input; power via wall adapter (not TV USB if updates fail).
- Pair remote: hold Home 10 seconds until LED blinks amber.
- Join Wi‑Fi; prefer dedicated 5 GHz SSID if router broadcasts both bands.
- Sign in with Amazon account; enable PIN for purchases immediately.
- Install updates: Settings → My Fire TV → About → Check for Updates (repeat until current).
- Disable data collection: Settings → Preferences → Privacy Settings.
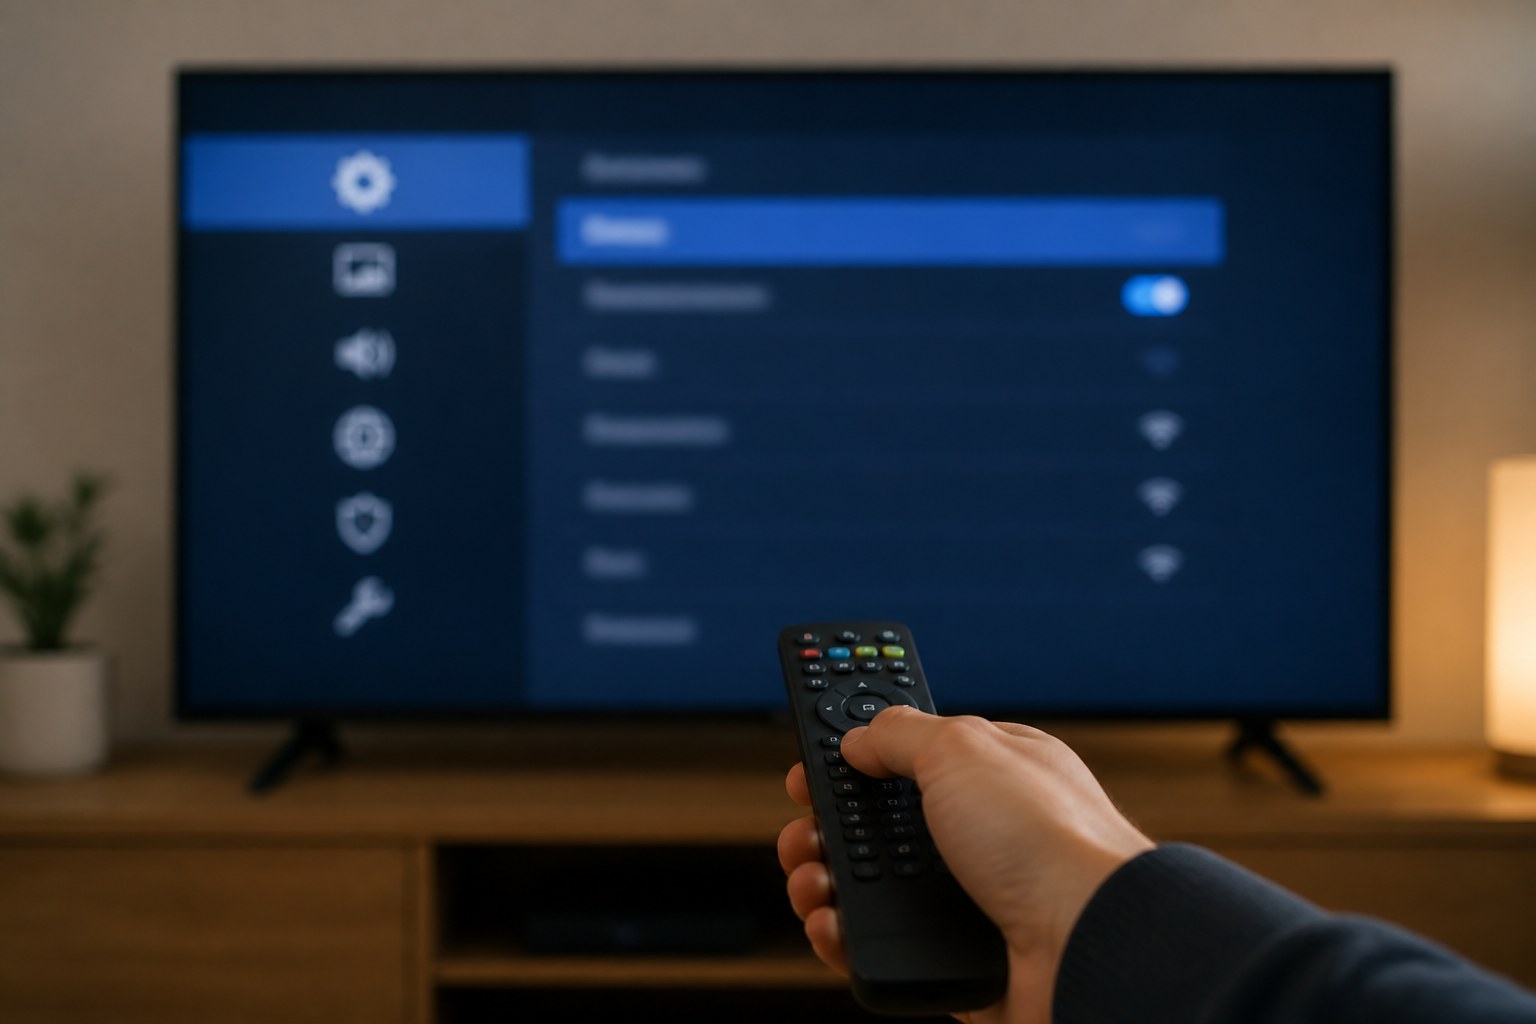 Use Settings menus to lock display, privacy, and network options
Essential Fire TV settings
| Setting | Path | Why it matters |
|---|
| Display | Settings → Display & Sounds → Display | Match 4K/HDR to TV; use Auto if unsure |
| Data monitoring | Settings → Preferences → Data Usage | Spot bandwidth hogs early |
| Developer options | About → click Build 7× | Only if sideloading trusted APKs |
| Unknown sources | Developer Options → Apps from Unknown Sources | Enable only for Downloader |
| Storage | Settings → Applications → Manage Installed Apps | Clear cache monthly |
Security: Disable "Install unknown apps" for every app except your trusted installer. Uninstall apps you don't recognize.
3. Google TV & Android TV boxes
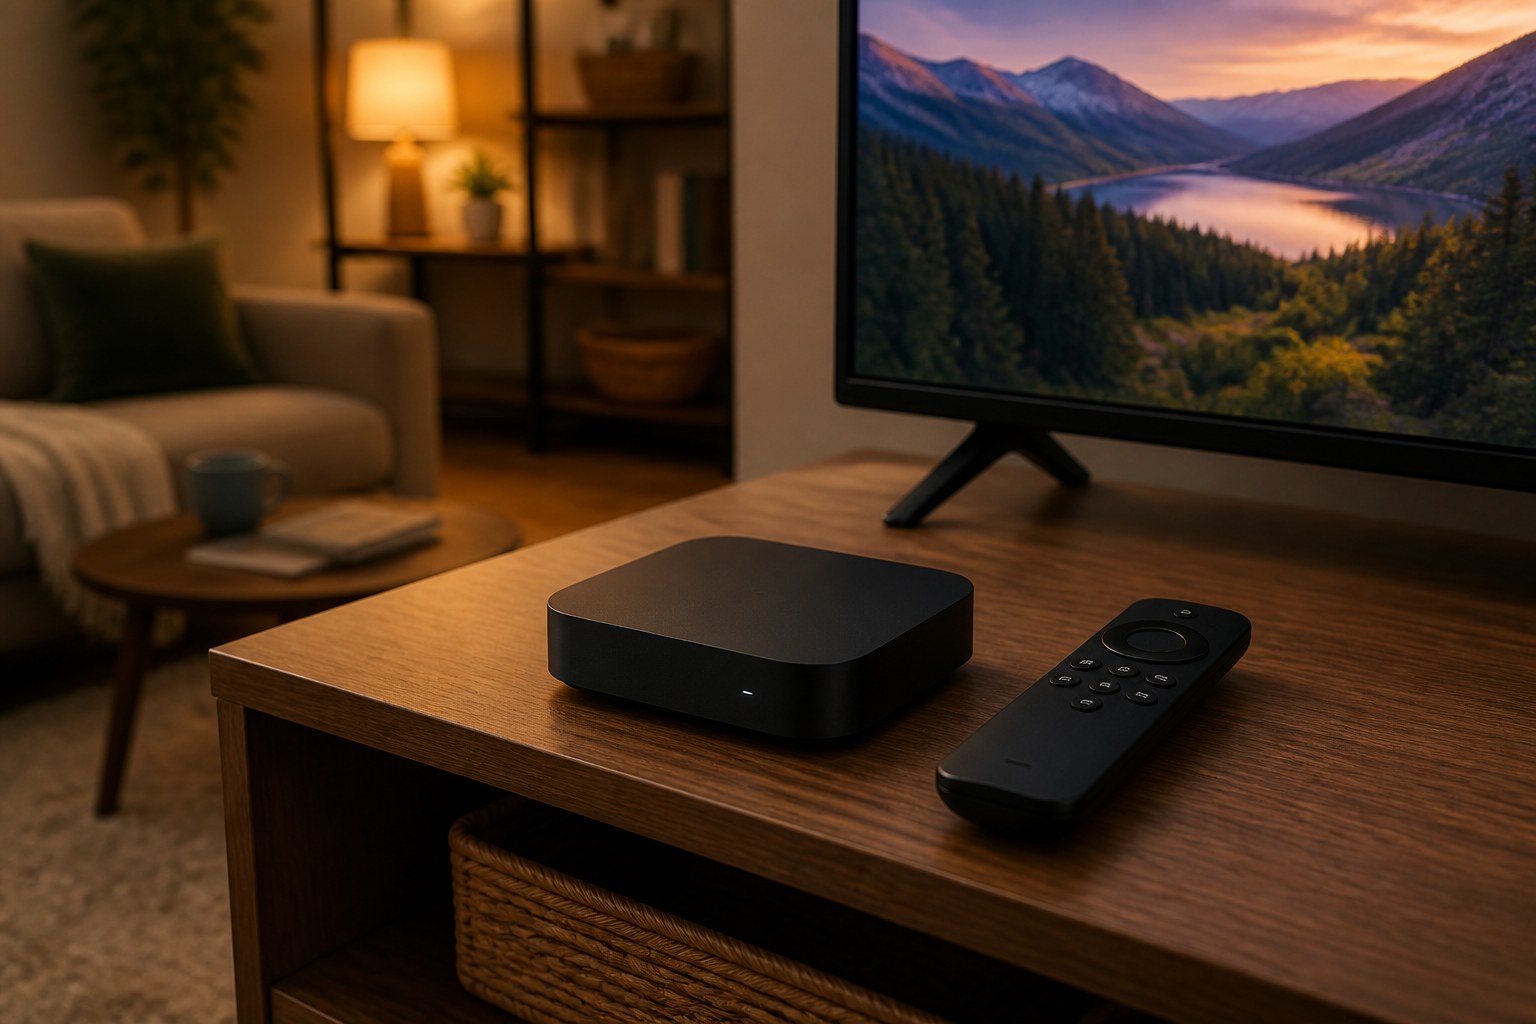 Android TV / Google TV home screen after initial setup
- Connect HDMI + power; use wired Ethernet on dedicated boxes when available.
- Complete Google account sign-in; enable 2-step verification.
- Accept terms; decline optional data sharing.
- Run System update: Settings → System → System update.
- Remove bloatware preloads you won't use to free storage.
- Enable Developer Options only if sideloading: Settings → About → Build 7×.
APK installation (safe method)
- Install Downloader from Play Store (or use Send Files to TV from phone).
- Settings → Apps → Special app access → Install unknown apps → allow Downloader only.
- Download APKs only from official developer websites — never "mod" or cracked versions.
4. Samsung Smart TV (Tizen)
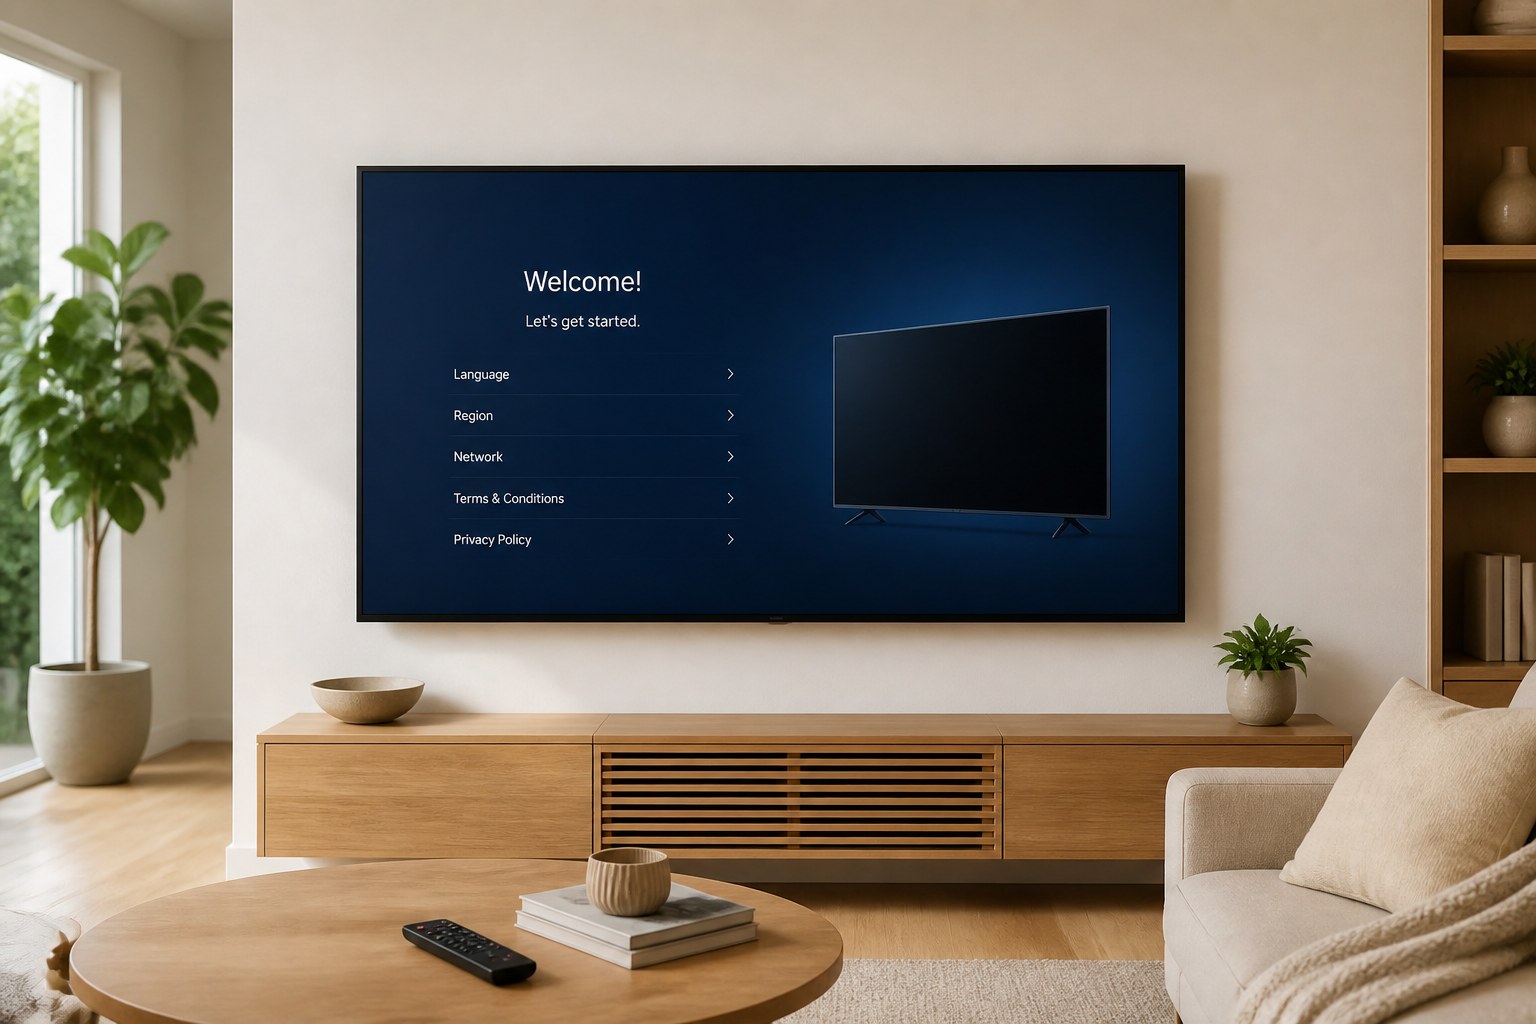 Samsung Smart TV ready for network and software update
- Network: Settings → General → Network → Wi‑Fi or Wired.
- Software: Settings → Support → Software Update → Update now.
- Samsung account: optional but needed for some apps.
- Pin apps: highlight app → hold OK → Pin to Home.
- Rename HDMI inputs: Source → HDMI → Edit → "Fire Stick" etc.
- Picture mode: Movie/Filmmaker for streaming; Standard for sports.
5. LG Smart TV (webOS)
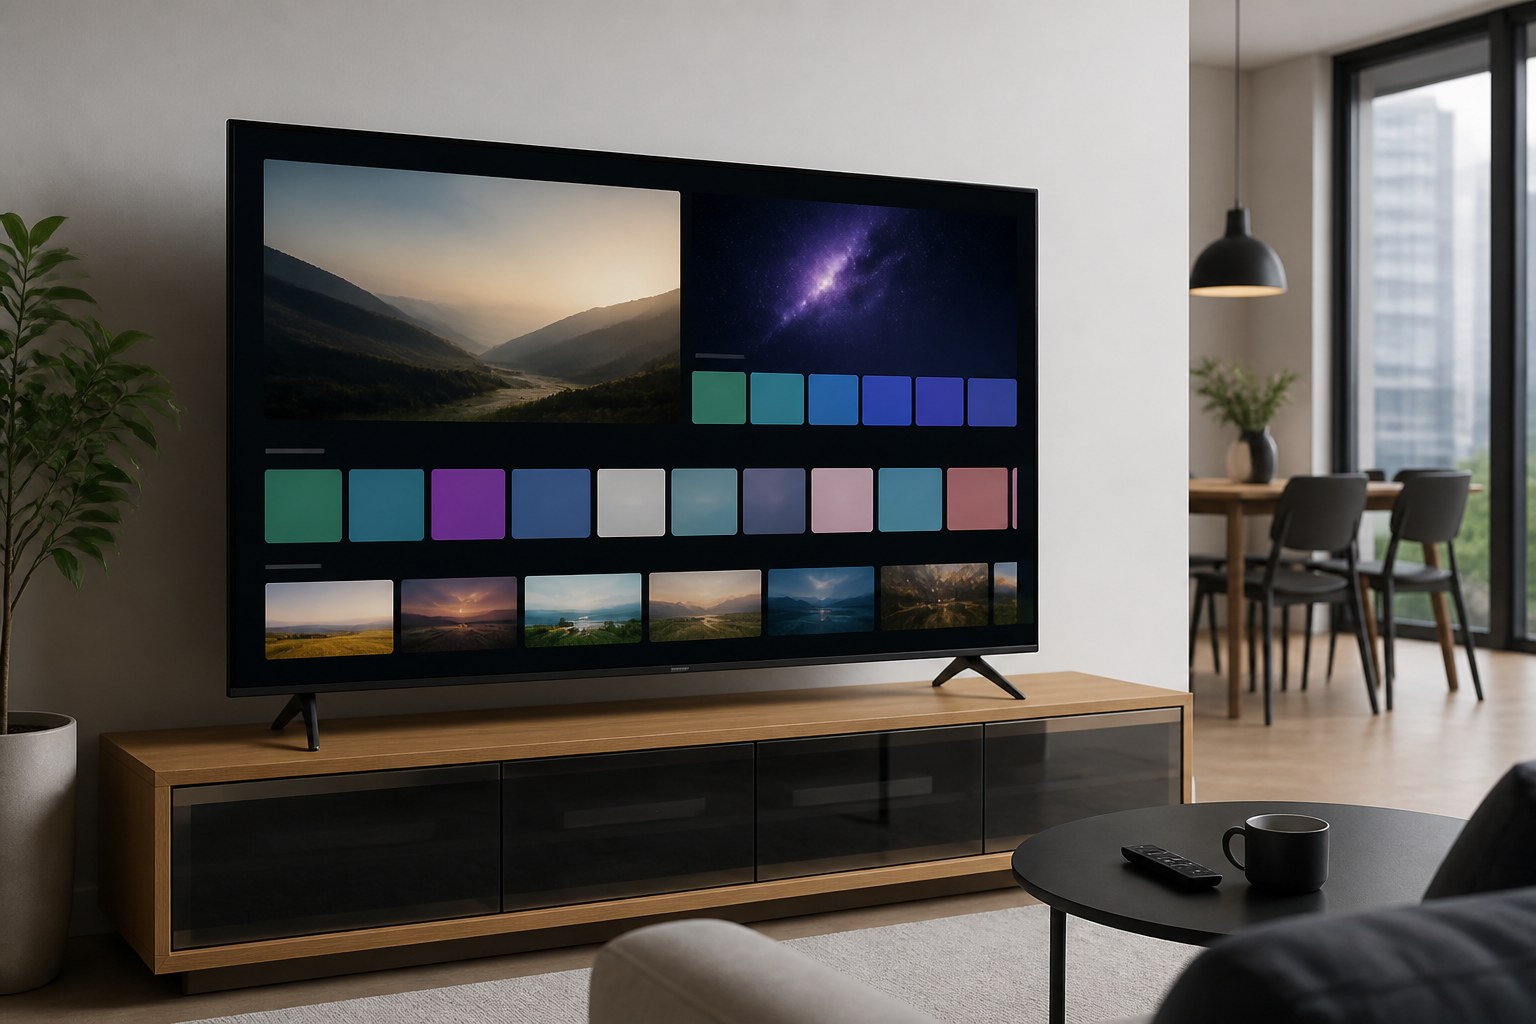 LG webOS home row — pin your streaming apps
- Network: Settings → Network → Wi‑Fi Connection or Wired.
- Updates: Settings → General → About This TV → Check for Updates.
- LG Content Store for official apps only.
- Quick Access: pin frequently used apps to home row.
- HDMI CEC: Settings → Connection → HDMI → Simplink (HDMI-CEC) ON.
6. Roku & Apple TV
Roku
- Pair remote during setup; use HDMI extender if needed.
- Link Roku account; skip channel offers you don't want.
- Settings → System → Screen mirroring → Prompt (security).
- Settings → Network → Check connection after Wi‑Fi setup.
Apple TV
- Use iPhone to auto-transfer Wi‑Fi and Apple ID (quick setup).
- Settings → Remotes and Devices → Volume → learn TV/receiver remote.
- Enable Match Content for HDR/SDR switching.
7. Phones, tablets & casting
| Method | Works with | Notes |
|---|
| Chromecast built-in | Android TV, some apps | Cast button in supported apps |
| AirPlay | Apple TV, newer Samsung/LG | Screen mirror or app cast |
| Miracast | Windows, some Android | Settings → Display → Cast |
8. Display & accessibility
- Resolution: Match native panel (4K UHD = 3840×2160).
- HDR: Enable only if TV supports HDR10/Dolby Vision.
- Refresh rate: 60 Hz standard; 120 Hz for sports/gaming TVs.
- Closed captions: Enable per-app in player settings.
- Text size: Android TV → Settings → Device Preferences → Accessibility.
9. Post-setup checklist
- System firmware is latest version
- Connected to 5 GHz or Ethernet
- Purchase PIN enabled (Fire TV / app stores)
- Unknown app installs restricted
- HDMI input labeled correctly
- Tested playback from one official app (YouTube/Netflix)
- Remote batteries fresh; voice remote paired